Are you looking to create your Wise account? If yes, then you have come to the right spot. If you want to send or receive money internationally with low fees, learning how to create a Wise account is a good place to start. Wise a popular platfrom which acts as an international bank, allowing users to get virtual international bank accounts in 100+ countries.
It is known for its transparency, fast and global transfers. Setting up a Wise account takes only a few minutes, and we will discover how in this blog post.
Apart from how to create a Wise account, you will also discover some of the basic questions which people ask when to want to make an account on Wise. So, here’s a step-by-step guide on Wise account creation.
How to create and open a Wise account?
1. Head over to Wise website

The very first step in the process of Wise account creation is to head over to the official website of Wise and click on Sign up in minutes. If you are not using a web application, then you can also download the Wise app on an Android or an iPhone device and get started in the same way.
You can sign up on Wise either by using your Gmail account or by creating your own password and login credentials with your respective email service provider.
If you try to sign up with Gmail, then make sure you give all access to Wise.

Now click on continue.
2. Select the account type
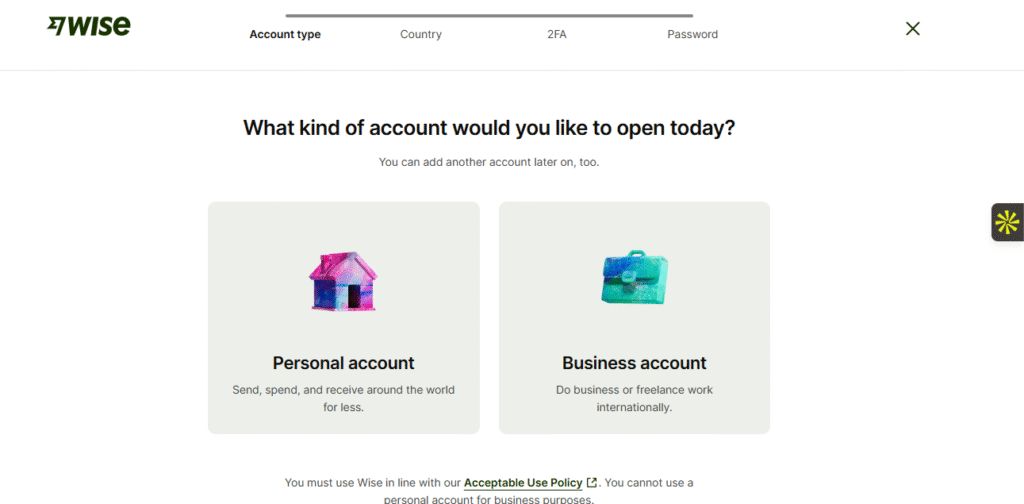
Once you have signed up for Wise, now you will be asked to choose a betweent Wise personal or a Wise business account.
Wise personal account: The Wise personal account is best suited for an individual, freelancer, or solo businessman who wants to send, spend, or receive money internationally.
The personal account can hold 40+ currencies with conversion made at the mid-market exchange rate. Account holder can also get a multi-currency card which can be used to spend in different currencies and 140+ countries.
Wise business account: The Wise business account is for those who are running a business or company and want to get paid or send money abroad in multiple currencies.
Conversion in the Wise business account takes place at the mid-market exchange rate.
With a business account, you can get employee expense cards, a multi-currency card to run your business, oranize funds, cut costs and get paid on time.
Once you have selected which type of Wise account you want to create, then you need to set up your location.
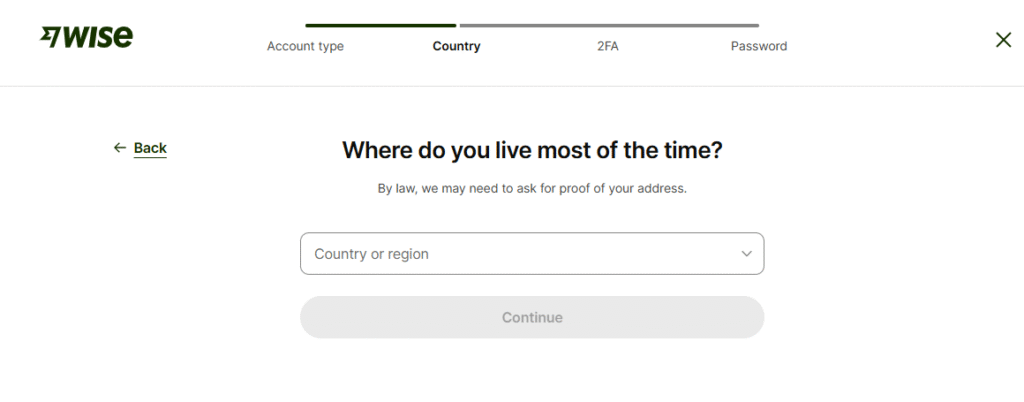
Enter the country in which you are residing.
Once you enter your country, you will come to know what are the features that Wise account for personal usage allows in your country.
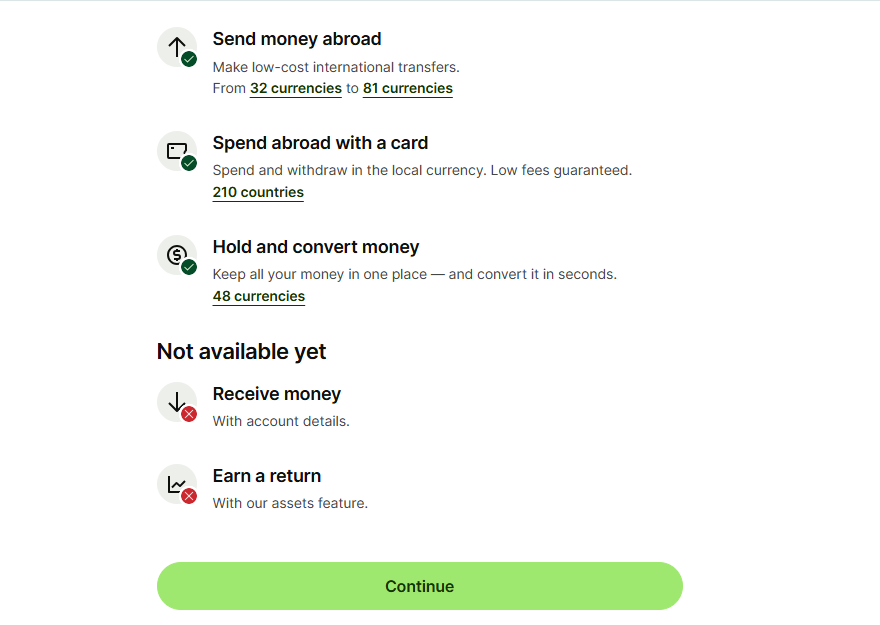
In the above image, you can see Wise is not allowing us to avail the revice the payment feature on the personal account level. In this case, you can try to change and convert your personal account to a business account.
Or, if you only want to send or spend the money, you can proceed.
3.Two-factor verification
Once you have decided to proceed, you have to set up two-factor authentication by verifying your phone number.
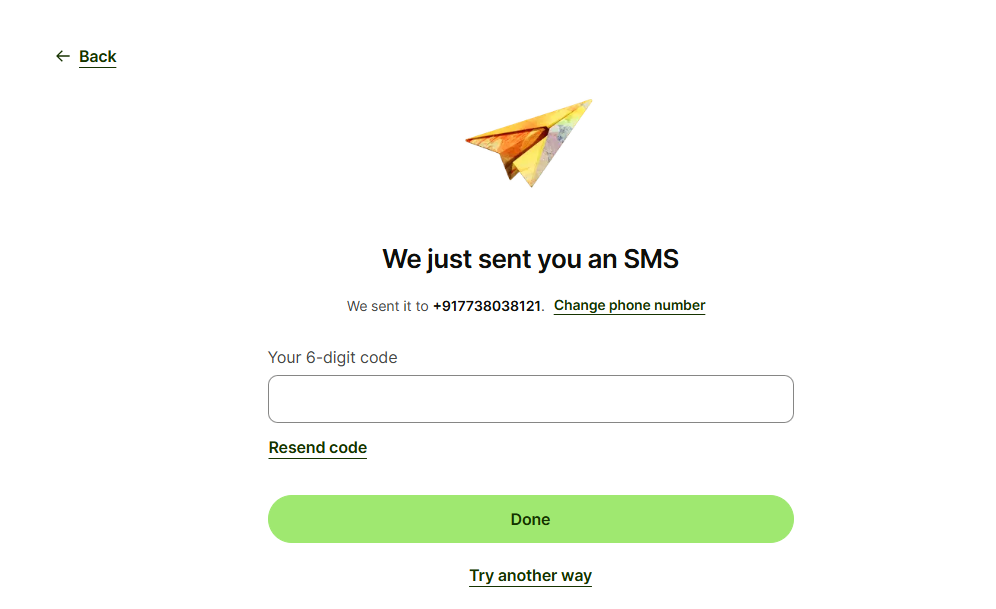
Now enter your phone number and the six-digit code that you will receive. You can also try another way by email if you wish.
4. Password set up
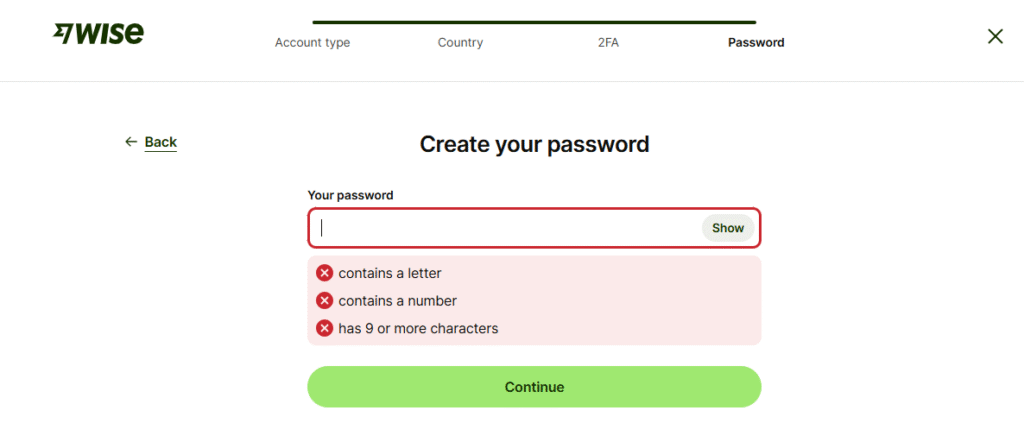
After the phone number verification, you need to set up your password.
5. Complete basic information
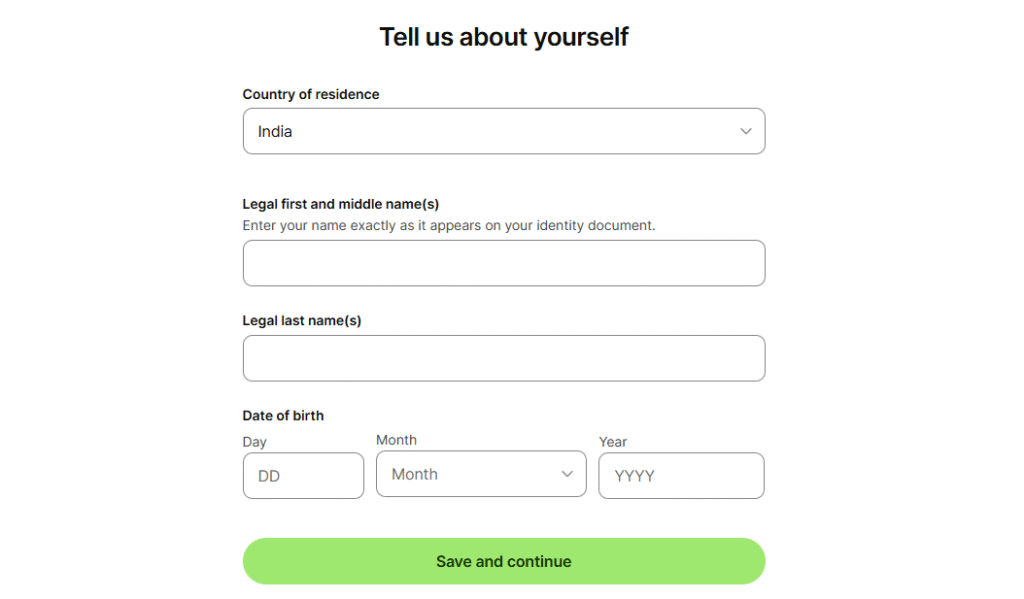
After you are done creating your password, you need to fill your profile by sharing basic information about yourself. Make sure you provide all the information correctly, especially your phone number, country, name, middle name, last name and year of birth as it is mentioned in one of your government ID cards, which you will be submitting on Wise for verification.
Remember, your personal details should match on your Wise account and government ID.
In the next step, you need to enter your home address.
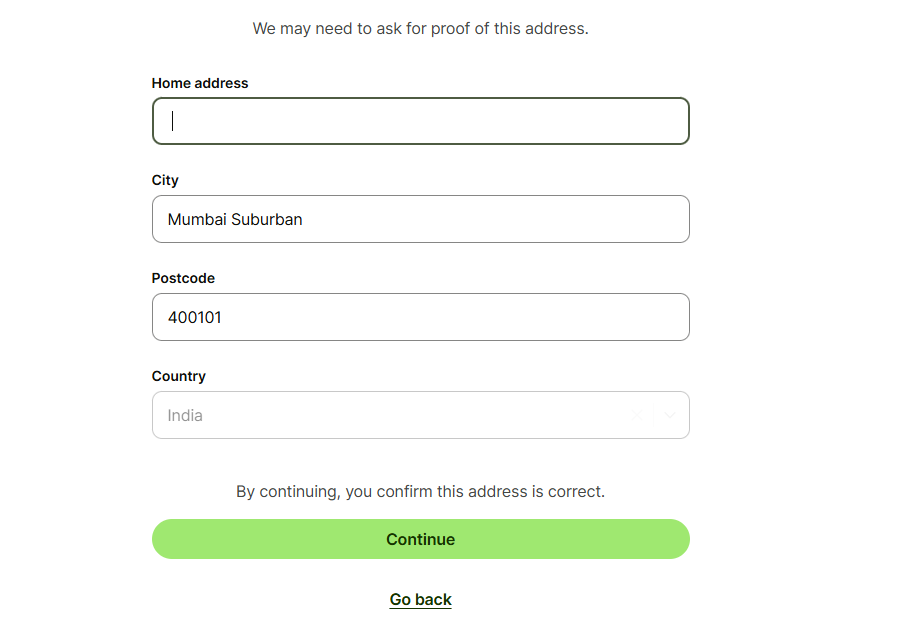
Make sure to enter it correctly as mentioned in your government ID for verification.
6. Congratulations, your Wise account is created

Your Wise account has now been created.
However, this is only the Wise personal account by which you can send money. You cannot receive money in a Wise personal account (in some countries).
How to create a Wise business account to get payments?
Now that you have come to know how to create Wise account for personal purposes, let us now understand and learn how to set up Wise business account in a step-by-step format.
Creating a Wise business account is more or less the same as a Wise personal account. While selecting the type of account, you need to opt for the Wise business account.
You can also convert your Wise personal account to a business account by heading over to your profile settings.
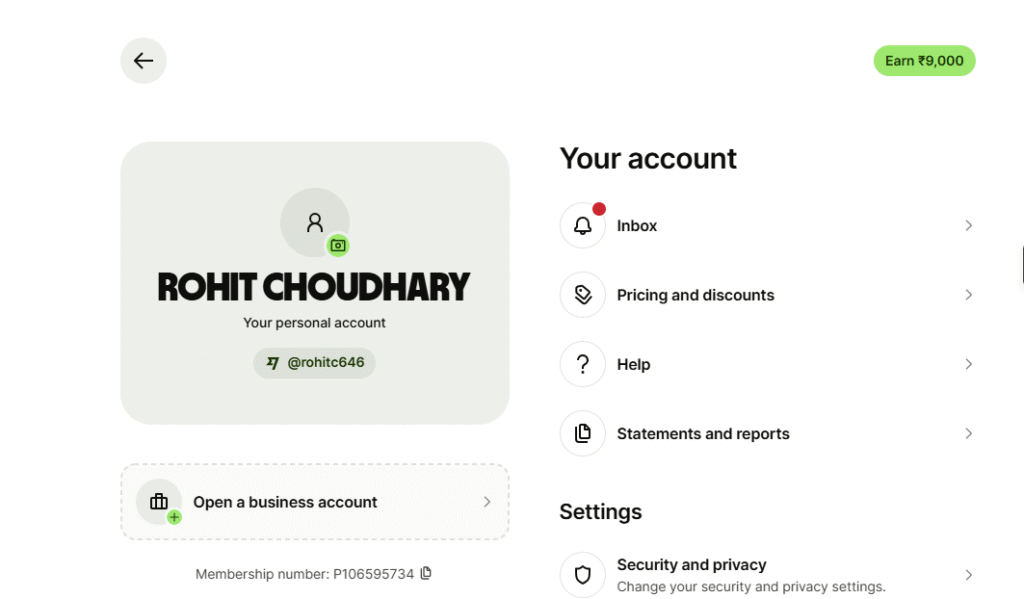
Click on ” Open a business account and enter the country in which you are living.
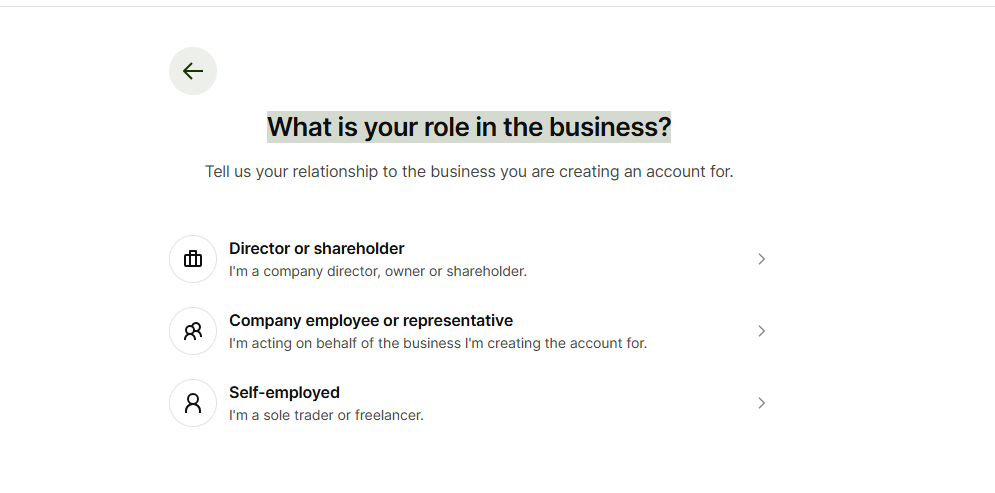
Now, select the type of business and move next.
Now enter your business details carefully, save and continue.
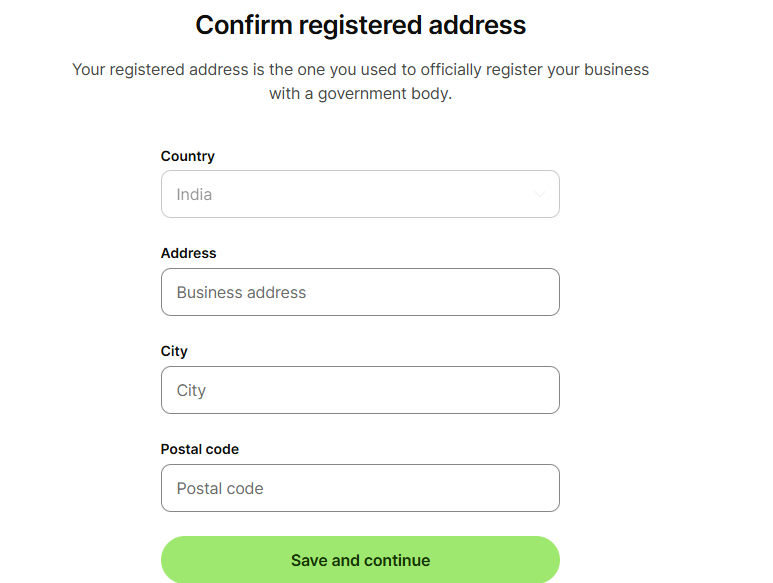
Now, enter your business address, postal and other details, then save and continue.

Now choose your busines industry, save and continue.
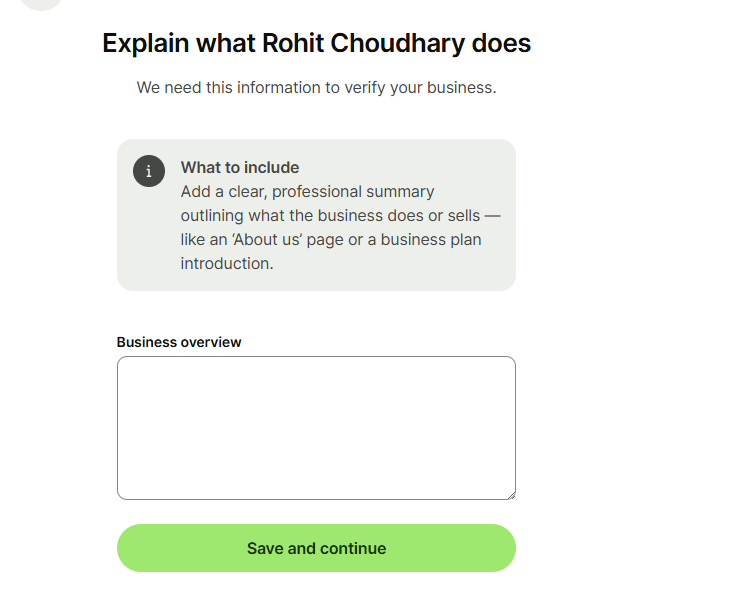
Now you have entered the business overview and give a short introduction about your business. Make it very relevant, transparent and honest. Write at least 100 words.
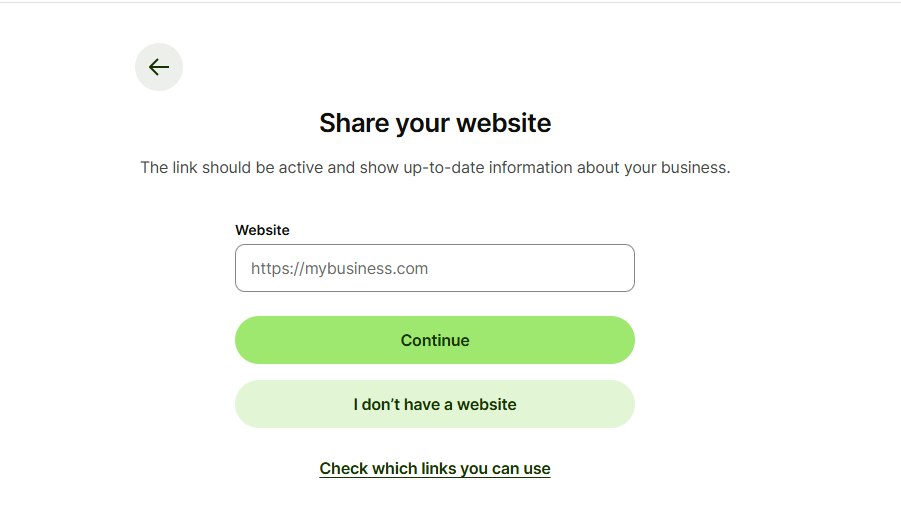
In this step, you have to mention your business website. If you have one, share the link; if you don’t have move to the next step.
Confirm your trading address. And jump to the next step.
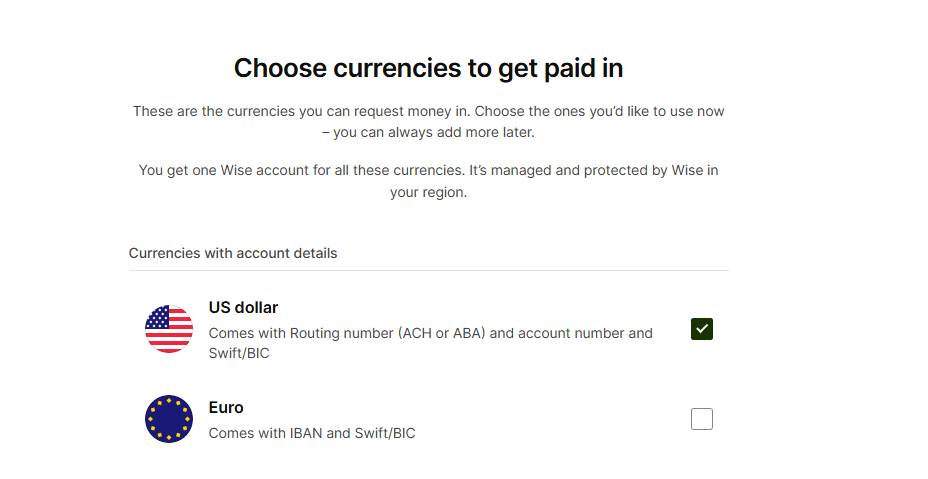
Select a few currencies in which you want to get paid. Select 4 currencies like the USA, GBP, Euro or CAD and move to the next step.
Now you will be redirected to the most important page where you need to do the verification of your business account.
This is the last and final step of Wise account creation for business purposes. In this step, you need to link your bank account, Aadhar card and complete a video verification with your PAN card in order to get your account approved and running. This entire process will take 15 mins, provided that you have all your documents ready with you.
After you have done with video verification and KYC, your account will be reviewed by the internal team of Wise, and it will be approved within one day if they find everything good.
How create Wise account in India?
Creating Wise account in India is very simple easy and fast. Here are the steps to do it.
- Vist Wise website
- Choose your account type
Select Wise personal account only if you want to make payments and select Business account if you want to make payments and receive money from others as well.
- Link your bank account
- Verify your account
You might need to submit your Pan card | Aadhar card or Password details.
To get your personal and business account verified.
- Complete the KYC if you want to create Wise business account in India
- Once you have submitted all these information to the Wise team, your account will be created in 2 days max.
How to create Wise account in Pakistan?
Creating Wise account in Pakistan is very simple easy and fast. Here are the steps to do it.
- Vist Wise website
- Choose your account type
Select Wise personal account only if you want to make payments and select Business account if you want to make payments and receive money from others as well.
- Link your bank account
- Verify your account
You might need to submit government ID which is legal in Pakistan.
To get your personal and business account verified.
- Complete the KYC if you want to create Wise business account in Pakistan.
- Once you have submitted all these information to the Wise team, your account will be created in 2 days max.
How to create Wise account in Kenya?
Creating Wise account in Kenya is very simple easy and fast. Here are the steps to do it.
- Vist Wise website
- Choose your account type
Select Wise personal account only if you want to make payments and select Business account if you want to make payments and receive money from others as well.
- Link your bank account
- Verify your account
You might need to submit your government ID which is issued by Kenya government to get your personal and business account verified.
- Complete the KYC if you want to create Wise business account in Kenya
- Once you have submitted all these information to the Wise team, your account will be created in 2 days max.
How to create Wise account in Philipines?
Creating Wise account in Philipines is very simple easy and fast. Here are the steps to do it.
- Vist Wise website
- Choose your account type
Select Wise personal account only if you want to make payments and select Business account if you want to make payments and receive money from others as well.
- Link your bank account
- Verify your account
You might need to submit your government ID which is issued by Philipines government to get your personal and business account verified.
- Complete the KYC if you want to create Wise business account in Philipines
- Once you have submitted all these information to the Wise team, your account will be created in 2 days max.
What are the documents required to set up Wise account?
To set up a Wise account, you typically need a valid government-issued ID such as a passport, Aadhaar, or driving license. In India, a PAN card is also required. You may need to provide proof of address and bank account details for verification and transactions.
What are the benefits of having Wise account?
A Wise account offers several practical benefits, especially for freelancers and international users:
💸 Low fees & better exchange rates
Wise uses real mid-market exchange rates with transparent fees, often cheaper than traditional banks and platforms.
🌍 Easy international transfers
Send and receive money across countries quickly without complicated banking processes.
💼 Great for freelancers
Receive payments from global clients directly into your bank account with lower conversion costs.
🔁 Multi-currency support
Hold and manage money in different currencies (availability may vary in India).
⚡ Fast transactions
Transfers are usually quicker compared to banks.
🔐 Safe & reliable
Wise is regulated and follows strict security standards.
FAQs: About How To Create Wise Account
1. Is Wise available in India?
Yes, Wise is available for sending and receiving international payments in India.
2. What documents are required?
You need PAN, Aadhaar/Passport/Driving License, and address details for verification.
3. Can freelancers use Wise?
Yes, freelancers can receive international payments directly into their bank account.
4. Is Wise better than PayPal?
Wise often offers lower fees and better exchange rates than PayPal.