
Are you looking to buy a domain name from Porkbun? If so, you have landed on the right blog post. In this post, I will walk you through a step-by-step guide on how to buy a domain name on Porkbun and why you should consider Porkbun as your first choice for purchasing a domain name.
Since I have personally bought a domain name from Porkbun, I am the right person who can guide you through the entire process.
So, without wasting more time, let’s get started with our blog post.
Step 1: account creation
The first step in buying a domain name from Porkbun is to create your account. You need to head over to the official Porkbun website to get started. The account creation process at Porkbun is a bit complex and takes some time.
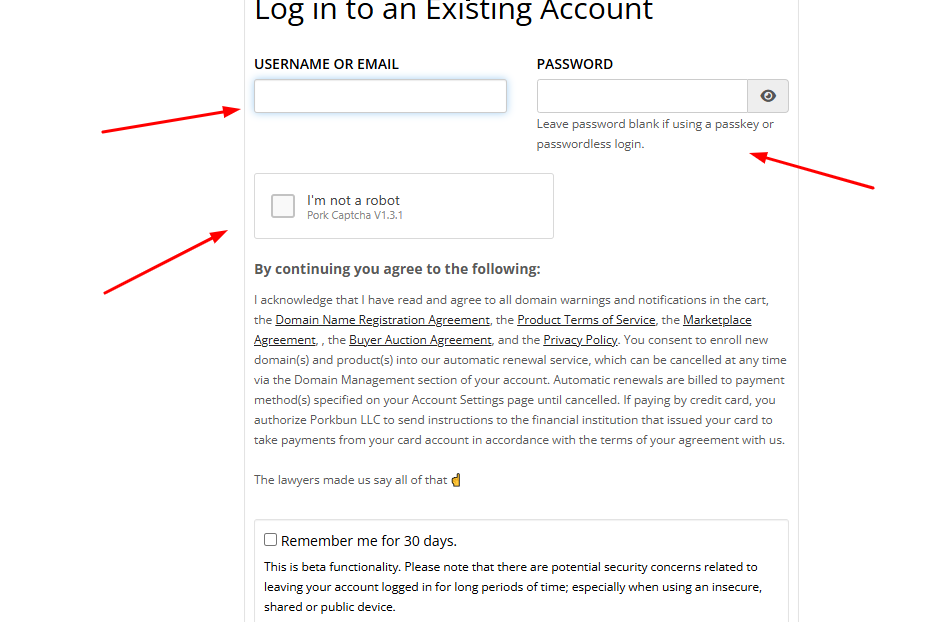
You can start by entering your username, email, and password, followed by additional details like your address, phone number, and the country in which you reside.
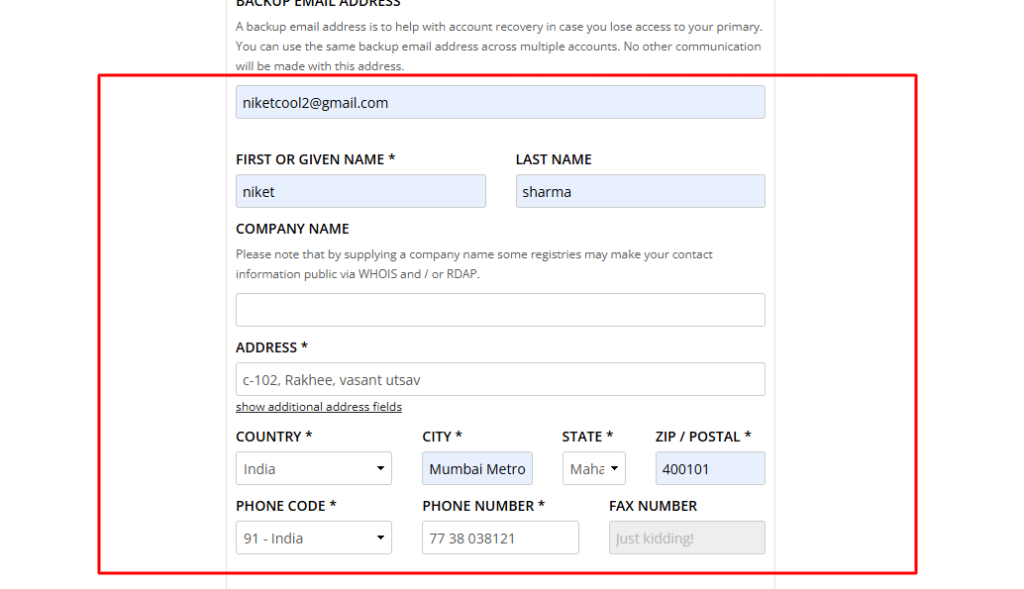
Porkbun is a unique domain registrar in that it requires this level of documentation.
After you have completed the basic data entry, you will need to verify your identity with a valid government-issued ID.
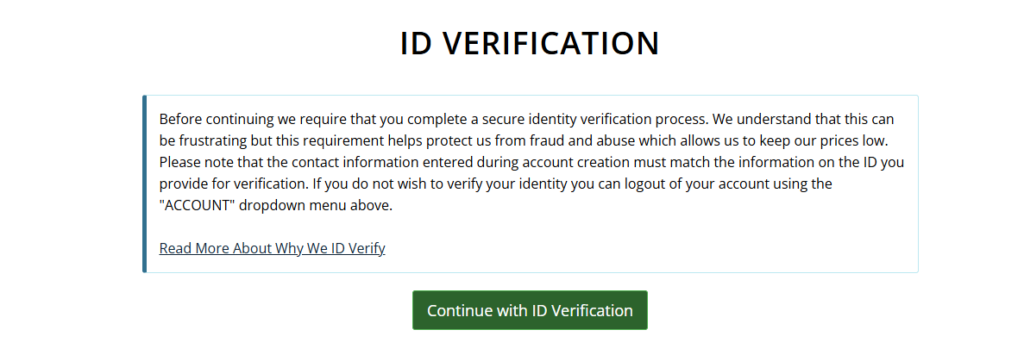
Simply click on “Continue with ID Verification” to proceed to the next step.
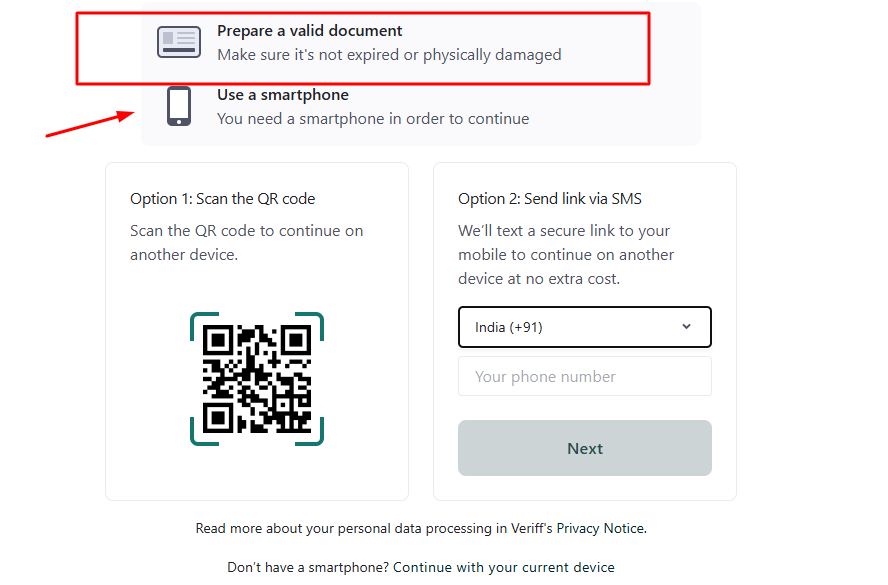
In the next step, you need to scan the QR code and submit your government ID for verification, followed by your phone number.
After submitting this information, the Porkbun team will verify your details and get back to you.
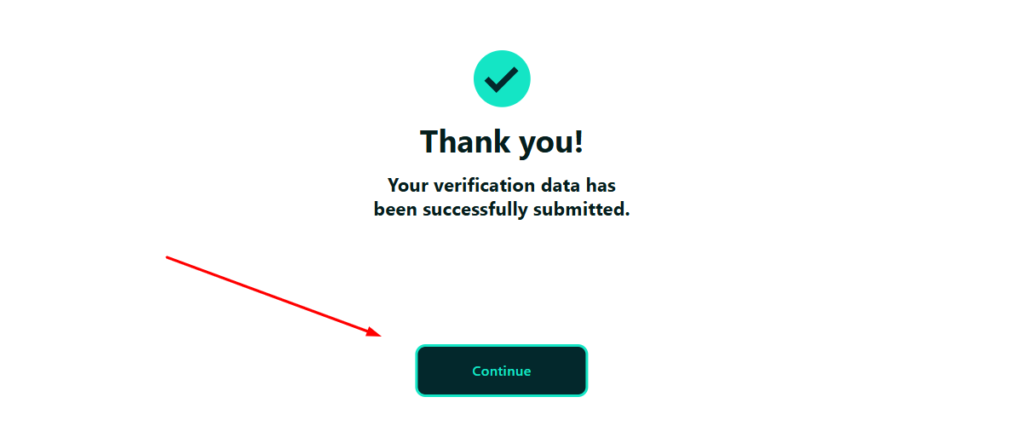
Once the verification is completed, you will now have the access to your account.
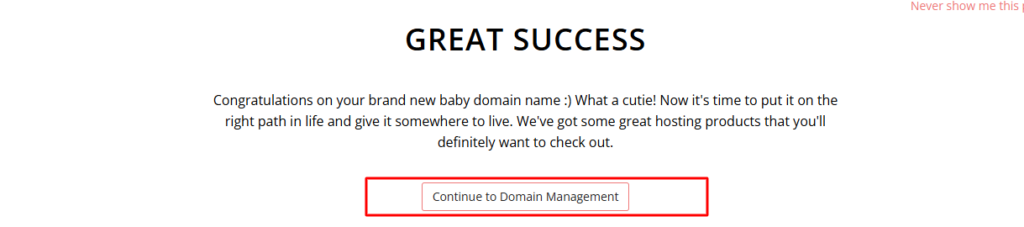
You can now easily buy a domain name on Porkbun.
Step 2: Choose your domain name
Once your account is created, you can select from the wide range of domain names available on Porkbun.
You can search for any kind of domain name with their domain search feature.
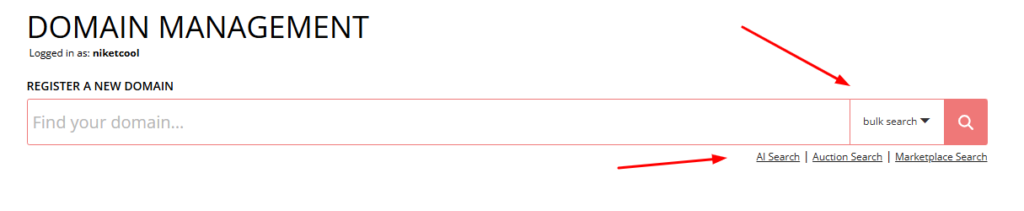
Bulk domain search and AI-based domain search options are also available to help you save time.
Step 3: Add to cart and make payment
Once you have decided to buy a domain name you need to click on the plus sign and add the domain name in your cart.
After clicking on the plus sign, you will be taken to the checkout page.
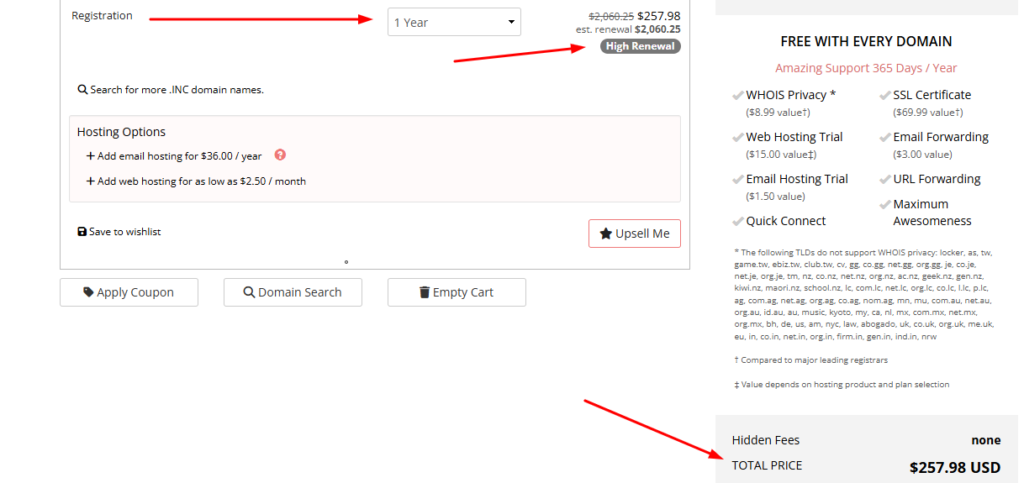
On the checkout page, you should review three pieces of information very carefully: the actual price of your domain, the number of years for registration, and the renewal price after the first year.
Without checking these information, do not buy a domain name from any registrar.
If you have decided to buy then continue to the billing option and select your payment method.
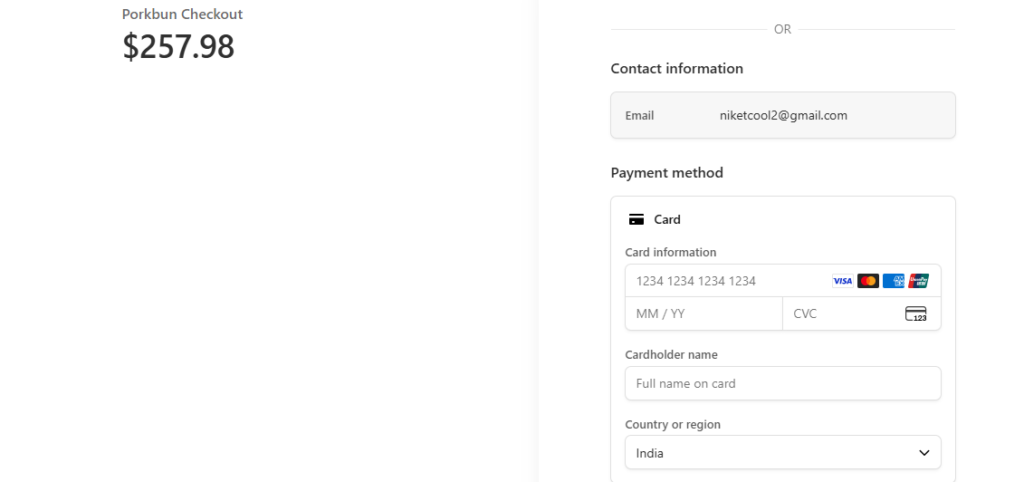
Enter your card details and check for the payment amount once again.
Congratulations! You have just bought the new domain name on Porkbun.
After buying your domain name, you will get an email and complete invoice about your purchase.
Step 4: Domain management
After buying the domain name from Porkbun you have to complete few of the basic settings in your account as well as domain level.
1. Enable two factor
The most important thing which you need to do on the account is to set up and enable your two factor verification in the security settings of your account.

The two factor is important because it will safeguard your account from the unwanted login, phishing attacks and cyber threats.
2. Check for auto renewal
Domain expiration and auto renewal is the most avoidable disaster in web ownership. Majority of the first time domain name buyers are not aware of this and they end up paying extra time for the renewal of their domain.
Therefore, it is utmost important to check the renewal plan and policy of the domain registrar.
In the Porkbun domain management dashboard, you can easily enable or disable the auto-renewal feature by clicking on the “Renew” option.

I personally prefer to disable the auto-renewal feature to avoid any unintended charges.
3. Change the DNS and nameservers
If you want to launch your site on your domain name, then you need to point the domain name to your hosting company’s name servers.
Hosting companies like Hostinger, SiteGround and Bluehost give you custom domain nameservers. You can change it from the domain management of the Porkbun dashboard.
Here’s how the domain name server of Porkbun’s look like.
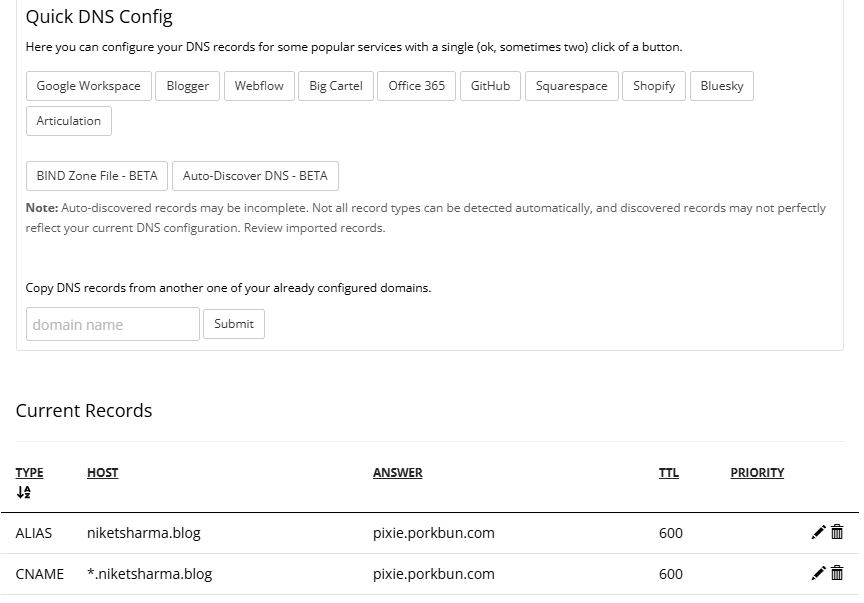
You can edit and change the nameservers at the bottom right side.
4. Enable domain lock
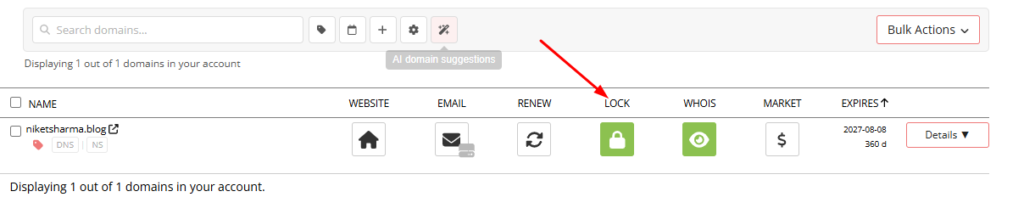
One of the most important setting you need to do after making a domain purchase is to lock your domain name.
This will ensure all your details are safe and secured.
5. WHOIS setting
WHOIS privacy replaces your personal name, address, email, and phone number in the public WHOIS database with Porkbun’s contact information. Without it, anyone can look up your personal address using a simple WHOIS search.
Porkbun enables WHOIS privacy by default on all eligible TLDs but it is worth verifying. In Domain Management, look for the privacy/shield icon in the icon row.
If it shows as active (not greyed out), privacy is enabled. Click it to toggle. Note: some TLDs (primarily country-code TLDs like .uk) have their own registry-level privacy rules and may not support third-party WHOIS privacy services Porkbun notes this clearly at purchase.
FAQs on How to Buy a Domain Name on Porkbun
How to buy a domain name on Porkbun?
To buy a domain on Porkbun, create an account, then open the Domains page. Search your preferred domain name, review available extensions and prices, and click the plus sign to add your choice to the cart. Select Checkout, verify the spelling and registration details, choose options, and complete payment online
How much does domain name on Porkbun cost?
Porkbun domain prices depend on the extension, registration period, and whether a name is premium. For example, Porkbun currently lists .com domains from $11.08 for a standard, one-year registration. Promotional first-year prices can be lower, while renewal prices may differ. Check the official pricing page before purchasing for latest amount
Is WHOIS privacy free on Porkbun?
Yes. Porkbun provides free WHOIS privacy for every participating domain registered or transferred to its service. It is enabled by default when the extension supports privacy, helping hide your contact information from public registration records. Some domain extensions have legal or registry restrictions, so privacy availability can vary by TLD

Niket Sharma is an SEO specialist, SaaS expert, and freelance content marketer with over 5 years of experience in SEO, blogging, and digital marketing. Through this blog, he shares practical insights, proven strategies, and real-world experiences to help businesses and readers improve their online presence, rankings, and content marketing success.